Headrest monitors
#1
Hi all.
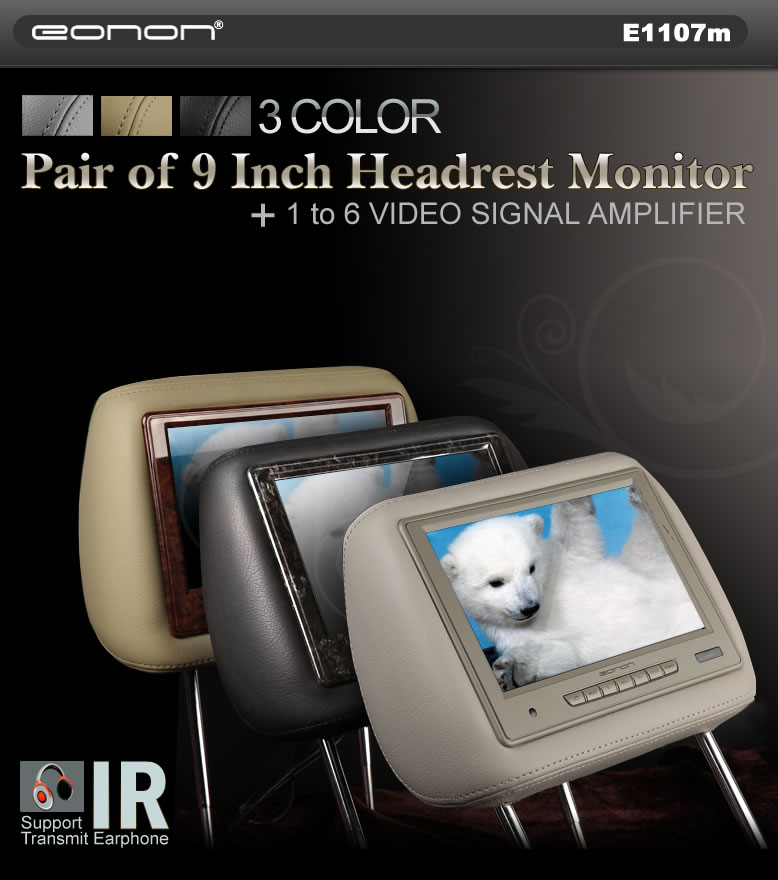
Just received a set of Eonon 9in headrests from China. I'll try to post my progress here as I install these in my 05 Touring. I purchased the "tan" model so it would match the wood paneling in the Pacifica.
So far, the plan is:
1. test both monitors
2. fix the colour to Light Taupe
3. install :-)

Just received a set of Eonon 9in headrests from China. I'll try to post my progress here as I install these in my 05 Touring. I purchased the "tan" model so it would match the wood paneling in the Pacifica.
So far, the plan is:
1. test both monitors
2. fix the colour to Light Taupe
3. install :-)

#2
OK, so step 1 went a bit faster than I thought. (I got off work early :-)
First impressions: Fast Shipping through DHL, cost me 20$ in Import fees. Well Packaged.

Well Made for something direct from China. Very basic user guide. Although there is no installation guide, it's pretty self explanatory. The "wooden" frame is not 100% snug everywhere, but I think a 1/2 milimeter tolerance is ok for a 180$ kit of 9 inch headrest screens.


The only issue I have is that the video signal amp and the cables both have female connectors.
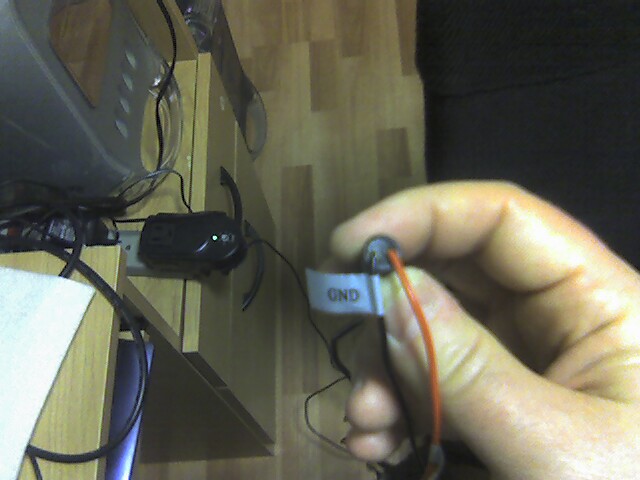
So to test the unit, i used a universal adapter set at 12 volts DC. and popped the power leads straight into the head.

Result? all good, no dead pixels.

I then plugged the rest of the A/V cables into my computer and got video as well as audio (there are embedded speakers inside the headrests).
Now for step 2. I'll need to go order some SEM Classic Coat in LT Taupe. This may take a few weeks as I doubt I'll get the color job done over the holidays.
More Later.
First impressions: Fast Shipping through DHL, cost me 20$ in Import fees. Well Packaged.

Well Made for something direct from China. Very basic user guide. Although there is no installation guide, it's pretty self explanatory. The "wooden" frame is not 100% snug everywhere, but I think a 1/2 milimeter tolerance is ok for a 180$ kit of 9 inch headrest screens.


The only issue I have is that the video signal amp and the cables both have female connectors.
So to test the unit, i used a universal adapter set at 12 volts DC. and popped the power leads straight into the head.

Result? all good, no dead pixels.

I then plugged the rest of the A/V cables into my computer and got video as well as audio (there are embedded speakers inside the headrests).
Now for step 2. I'll need to go order some SEM Classic Coat in LT Taupe. This may take a few weeks as I doubt I'll get the color job done over the holidays.
More Later.
Last edited by desperado; 12-28-2009 at 09:22 PM.
#4
Had some time to kill this afternoon. Decided to disassemble the dash to see which model I have as well as which connectors are needed.
You need to take off the transmission pommel with a torx15 head (screw is bottom front), then snap off the transmission cover (carefully, there are wires connected for the lighting) then the passenger console cover, then the ignition cover.
They snap out easy if you use a flat dull plastic letter opener or other device (I used a plastic putty knife)

As long as my wife doesn't see this, it's all good ;-)
I then pulled out the unit. I have an I/R unit apparently.
I need to get an appropriate 12 pin connector to bring everything to under the seats.

good thing is that there is a diagram of the pins on the unit. I'll have to carry the power, audio and video.

That's all for now. I called the paint shop and they have the color in stock, so I may go get some next week.
OK, gotta go. Happy Holidays to all!
You need to take off the transmission pommel with a torx15 head (screw is bottom front), then snap off the transmission cover (carefully, there are wires connected for the lighting) then the passenger console cover, then the ignition cover.
They snap out easy if you use a flat dull plastic letter opener or other device (I used a plastic putty knife)

As long as my wife doesn't see this, it's all good ;-)
I then pulled out the unit. I have an I/R unit apparently.
I need to get an appropriate 12 pin connector to bring everything to under the seats.

good thing is that there is a diagram of the pins on the unit. I'll have to carry the power, audio and video.

That's all for now. I called the paint shop and they have the color in stock, so I may go get some next week.
OK, gotta go. Happy Holidays to all!
Last edited by desperado; 12-28-2009 at 09:15 PM.
#5
Mr CD1 on Ebay sells a harness that plugs in there and then terminates w/ RCA connectors. Or.. you can use the factory Mopar repair connection website if you want to make one.. type in your car then just search on DVD. You will see the "C2" for connector C2 of the DVD changer.. 12 way. I get this P/N for an 05 when I search but please verify this yourself if you go this route....68020737AA
http://dto.vftis.com/mopar/platform_select.asp
http://dto.vftis.com/mopar/platform_select.asp
#7
After looking at the parts website, I'm confused. Are the images an exact representation on the plugs? I ask because the label on my DVD player has the same pin setup as #05102402AA, yet the graphic makes it look like it wou
Last edited by desperado; 12-28-2009 at 09:23 PM.
#8
They should be but I have seen even the Service Manual have the wrong plug pictures for other things like Uconnect.
Also.. if you make our own.. make sure you use shielded cable or you will have video interference, most likely when the radiator fans comes on. another member ran into this problem
There is no link for your 1st part#
Also.. if you make our own.. make sure you use shielded cable or you will have video interference, most likely when the radiator fans comes on. another member ran into this problem
There is no link for your 1st part#
Last edited by mrfixit454; 12-27-2009 at 08:24 PM.


